

If you’re raising pigs, one thing’s for sure – those mud-loving oinkers need a place to crash. Whether it’s to escape the summer sun or hunker down for winter, pigs appreciate a cozy shelter just as much as we do. But let’s be real here – we’re not talking about building a luxury piggy penthouse. This is farming, not HGTV. So, here at Silver Ridge Rabbitry and Farms, we’ve learned a thing or two about putting together budget-friendly, winter-worthy pig shelters that don’t require an engineering degree or a second mortgage.
Let’s explore some cheap and cheerful DIY pig shelters, including using Craigslist calf hutches, repurposing materials, and, of course, our favorite – the trusty pallet shelter. Because if there’s one thing we’ve learned, it’s that pigs don’t care if their home is a little rustic. As long as it keeps out the wind and has a good roof, they’re happy as, well, pigs in mud.
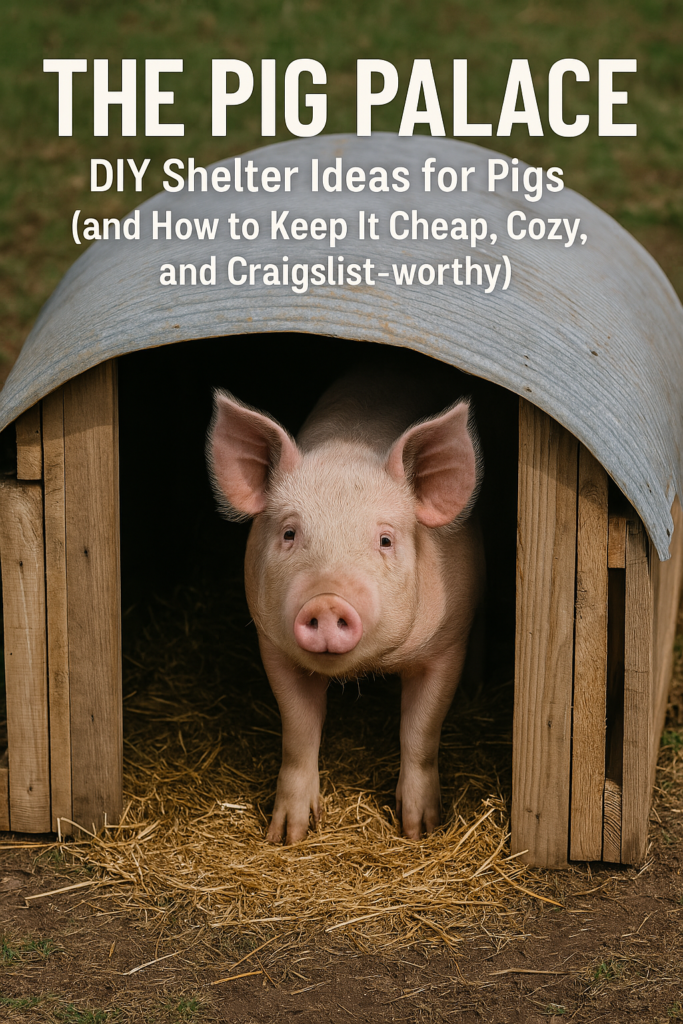
1. Craigslist Treasures: Calf Hutches Make Perfect Pig Palaces
If you’re not already browsing Craigslist for farm supplies, you’re missing out on a goldmine. Calf hutches are basically prefab shelters that people originally intended for calves – but they work just as well (if not better) for pigs. They’re lightweight, durable, and can be found for cheap if you keep your eyes peeled. Plus, the dome-like shape makes them look like the pig version of a Hobbit house, which is a fun bonus.
Here’s why calf hutches make a great DIY pig shelter:
- Easy to Move Around: Calf hutches are portable, so you can move them to different parts of your pig pen if you want to rotate grazing areas or keep things clean. Your pigs will love the change of scenery (or at least pretend to notice).
- Sturdy and Weatherproof: Most calf hutches are made from fiberglass or heavy-duty plastic, making them perfect for withstanding winter weather. Just add some straw inside, and you’ve got a cozy, pig-approved retreat.
- Cheap and Easily Found on Craigslist: Let’s face it – farmers always have things lying around that they’re willing to sell for a few bucks. You can often find calf hutches on Craigslist for a fraction of what you’d pay for a brand-new shelter. A little haggling and a pickup truck will have you set up in no time.
If you score a calf hutch from Craigslist, give it a good cleaning, check for any cracks, and maybe give it a fresh coat of paint if you’re feeling fancy. Or don’t. The pigs won’t judge.
2. DIY Pallet Shelter: Because Pigs Like Upcycled Housing Too
Ah, pallets – the farmer’s best friend. These humble wooden frames are not only free (or at least very cheap), but they’re also incredibly versatile. At Silver Ridge, we’ve built everything from pig pens to chicken coops out of pallets, and we can confirm that pigs are perfectly content with pallet-based real estate. In fact, they seem to take extra pride in their rugged, upcycled digs.
Here’s how to build a simple pallet shelter for pigs:
- Step 1: Find Pallets (Lots of Them)
Start by collecting about 6-10 pallets, depending on the size of your shelter. You can often find them for free behind grocery stores, warehouses, or even on Craigslist. Bonus points if you score those heavy-duty pallets – your pigs will thank you for the extra sturdiness. - Step 2: Build the Frame
Arrange the pallets in a rectangle or square to create the walls. Secure them together with screws or nails. Don’t worry about making it look perfect – this is a pig house, not a Pinterest project. The goal is to make it strong enough to withstand a piggy nudge (or a piggy lean). - Step 3: Add a Roof
Top it off with some old tin roofing, plywood, or even a tarp. Make sure the roof slopes so rain and snow slide off. We learned the hard way that a flat roof will turn your pig shelter into a waterlogged disaster zone. Let’s just say, our pigs were not impressed with the “indoor pond” feature. - Step 4: Make It Cozy
Toss in a good layer of straw for insulation and comfort. The pigs will root around and rearrange it to their liking – just consider it their version of interior decorating.
The pallet shelter may not win any architectural awards, but it’s cheap, functional, and the pigs love it. What more could you ask for?
3. Repurposed Materials: One Pig’s Trash is Another Pig’s Treasure
One of the best things about building pig shelters is that pigs don’t care if their home is made from scrap materials. Old doors, leftover plywood, roofing sheets, and even broken-down sheds can be repurposed into a perfectly good pig shelter. This is where being thrifty and a little creative comes in handy.
A few repurposed materials that can make great pig shelters:
- Old Doghouses: If you can get your hands on an oversized doghouse, congratulations – you’ve just found a ready-made pig shelter. Add some straw inside, maybe expand the entrance a bit, and your pigs will move in faster than you can say “oink.”
- Broken Sheds: Got an old garden shed that’s seen better days? Give it a new life as a pig shelter. Even if the roof leaks a little or a wall needs some reinforcement, it’s nothing that a bit of DIY ingenuity can’t fix. And let’s face it, pigs don’t mind a little rustic charm.
- Metal Barrels Cut in Half: This one’s for the truly budget-conscious pig farmer. Large metal barrels cut in half lengthwise can make surprisingly decent shelters for piglets or smaller pigs. Add a tarp for extra weatherproofing, and you’re good to go.
4. Winterizing Your Pig Shelter: Because Even Pigs Get Cold
Now that you’ve got a shelter, you’ll need to make sure it’s winter-worthy. Pigs may have a layer of fat to help keep them warm, but they still need a dry, draft-free spot to cozy up in when the temperatures drop. Here are a few winterizing tips we’ve learned at Silver Ridge:
- Pile on the Straw: Straw is the best insulation you can get for cheap. Pile it up thick in the shelter, and your pigs will burrow into it like happy little piggy burritos. Just keep an eye on the bedding and refresh it as needed.
- Block the Wind: Make sure the shelter entrance faces away from the prevailing winds. If possible, add a tarp or piece of plywood to act as a windbreak. Pigs are not fans of chilly drafts (and really, who is?).
- Add a Flap to the Doorway: If you’re feeling crafty, hang a heavy-duty tarp or an old blanket over the entrance. This helps keep out the cold while still allowing the pigs to come and go. They’ll figure it out quickly – especially if there’s food involved.
- Check for Leaks: Do a quick check to make sure the shelter is watertight. Nothing dampens a pig’s mood like a leaky roof (pun intended).
Bonus Tip: Make It a “Pig Palace” (But Keep It Real)
If you want to go the extra mile, you can always spruce up your pig shelter. Paint it, add a little sign that says “Pig Palace,” or even plant a flower box on the side if you’re feeling fancy. Just remember, this is still a pig shelter, so don’t go overboard – pigs are notorious for redecorating (read: chewing, nudging, and generally knocking things over).
In the end, it doesn’t matter if your pig shelter looks like a luxury piggy lodge or a rough-and-ready DIY project. As long as it’s dry, sturdy, and filled with comfy bedding, your pigs will be perfectly content.
At Silver Ridge Rabbitry and Farms, we’ve embraced the scrappy, budget-friendly approach to pig housing, and our pigs seem just fine with it. After all, pigs have a way of reminding us that sometimes, it’s not about fancy barns and expensive setups – it’s about enjoying the little things, like a warm bed of straw and the freedom to snort around in the dirt.
So go ahead and get creative, use what you’ve got, and build your piggies a shelter that’s cheap, easy, and winter-worthy. Who knows, with a little ingenuity and a bit of Craigslist luck, you might just end up with the best pig palace in town (or at least the muddiest).